Celebrating Pride Month with Pride Nail Designs
Celebrate the vibrant and inclusive spirit of Pride Month by adorning your nails with meaningful Pride designs. Embrace the colors of the Pride flag and let your nails become a canvas for love and celebration. Here are some delightful Summer nail ideas to inspire your Pride nail designs:
Pride Flag
Celebrates diversity and inclusion by showcasing the updated Pride flag colors on your nails.
How-To Steps:
- Clean, prep, and shape nails using a JINsoon High Performance Diamond Nail File to the desired shape.
- Apply Power Coat base coat to each nail.
- Apply Lavanda on the pinky nail and draw a straight line with Cool Blue in the middle then fill in the rest.
- Apply Tweety on the ring finger nail and draw a straight line with Palma in the middle then fill in the rest.
- Apply Hope on the middle nail and draw a straight line with Vanity in the middle then fill in the rest.
- Apply Dolly Pink the index nail and draw a straight line with Aero in the middle then fill in the rest.
- Apply Earth Clay on the thumb nail and draw a straight line with Absolute Black in the middle then fill in the rest.
- Finish with Top Gloss top coat.
Tip: Apply light colors as base colors first, then draw a straight line in the middle with the dark colors.
Tools and Products Used:
- JINsoon High Performance Diamond Nail File, Power Coat, Lavanda, Cool Blue, Tweety, Palma, Hope, Vanity, Dolly Pink, Aero, Earth Clay, Absolute Black Pinky and Top Gloss.
Polka Dot Pride
Celebrate Pride with vibrant colors and playful dot nail designs!

How-To Steps:
- Clean, prep, and shape nails using a JINsoon High Performance Diamond Nail File to the desired shape.
- Apply Power Coat base coat to each nail.
- Apply two coats of Love, Palma, Vanity, Absolute White and Cool Blue from the thumb nail.
- Apply random dots on each nail, except the white painted ring finger nail, with Absolute White using q-tips. Use big size q-tips for big dots and small size q-tips for smaller size dots.
- Dot on the index nail that has the white base by using all of the colorful base colors using q-tips.
- Finish with Top Gloss top coat.
Tip: Q-tips do magic to create dots because the polish remains wet on the Q-tip, allowing for multiple dot applications with just a single dip.
Tools and Products Used:
- JINsoon High Performance Diamond Nail File, Power Coat, Love, Palma, Vanity, Absolute White, Cool Blue and Top Gloss.
Color Block Pride
Give the classic French manicure a Pride twist. Instead of the traditional white tips, use rainbow colors for each nail.
How-To Steps:
- Clean, prep, and shape nails using a JINsoon High Performance Diamond Nail File to the desired shape.
- pply Power Coat base coat to each nail.
- Apply two coats of Nifty on all nails.
- Draw a horizontal line with Ube on the thumb nail in the middle, then fill in the rest to the tip.
- Draw a horizontal line with Palma on the index finger nail in the middle, then fill in the rest to the tip.
- Draw a horizontal line with Aero on the middle finger nail in the middle, then fill in the rest to the tip.
- Draw a horizontal line with Tweety on the ring finger nail in the middle, then fill in the rest to the tip.
- Draw a horizontal line with Vanity on the pinky in the middle, then fill in the rest to the tip.
- Finish with Top Gloss top coat.
Tools and Products Used:
- JINsoon High Performance Diamond Nail File, Power Coat, Ube, Palma, Aero, Tweety, Vanity and Top Gloss.
Skittle Flair Pride
Create a delightful manicure inspired by colorful candies!
How-To Steps:
- Clean, prep, and shape nails using a JINsoon High Performance Diamond Nail File to the desired shape.
- Apply Power Coat base coat to each nail.
- Apply two coats of Love, Pop Orange, Palma, Tweety and Aero from the thumb nail.
- Finish with Top Gloss top coat.
Tools and Products Used:
- JINsoon High Performance Diamond Nail File, Power Coat, Love, Pop Orange, Palma, Tweety, Aero and Top Gloss top coat
Abstract Circle
Create a trendy and abstract circle nail design that adds a modern and artistic touch to your manicure.
How-To Steps:
- Apply JINsoon Power Coat.
- Apply two coats of JINsoon Pixie.
- Draw big abstract circle lines with JINsoon Winky using the nail polish brush.
- Draw a smaller abstract circle in the big circle with Beau.
- Apply JINsoon Top Gloss.
Tip: Instead of drawing smooth circles, squiggle the brush for more squiggly abstract circles.
Tools and Products Used:
- JINsoon High Performance Diamond Nail File, Power Coat, Pixie, Winky, Beau and Top Gloss top coat.
Ombre French
A unique nail design created by combining the elements of an ombre gradient with a French manicure, adding a stylish twist to the classic French manicure.
How-To Steps:
- Clean, prep and shape the nails using a JINsoon High Performance Diamond Nail File to the models desired shape
- Apply one coat of JINsoon Pixie as a base coat to each nail.
- Apply JINsoon Palma to a makeup sponge, dabbing it from the nail tips up to 1/3 - 1/2 of the nails to create an Ombre effect.
- Then, apply another coat of JINsoon Palma to the makeup sponge and dab it on the areas needed to perfect the ombre effect.
- Draw skinny French lines with JINsoon Absolute White on all nails.
- Finish with Top Gloss top coat.
Tip: You can skip the base coat and apply JINsoon Pixie nail polish directly to your nails. Pixie is a sheer pink shade that adds a delicate glow to your nails.
Tools and Products Used:
- JINsoon High Performance Diamond Nail File, Pixie, Palma, Absolute White and Top Gloss top coat
Diagonal Flag Accent
This dynamic and festive accent nail design will highlight the spirit of celebration and pay homage to the flag of your choice.
How-To Steps:
- Clean, prep, and shape the nails using a JINsoon High Performance Diamond Nail File to the desired shape.
- Apply Power Coat base coat to each nail.
- Apply two coats of Pop Orange, Hope, Tweety, Prim and Keppel on all nails.
- Using a thin nail art brush or a striping tape, carefully create a diagonal line across the accent nail on the ring finger nail.
- Start from 1/3 of the nail from the top right to the left at a 45 degree angle with Beau, Birdie, Aero, Keppel Tweety and Pop Orange.
- Finish with Top Gloss top coat.
Tip: Position the line from one corner to the opposite corner of the nail. Ensure the line is straight and angled correctly.
Tools and Products Used:
- JINsoon High Performance Diamond Nail File, Power Coat, Pop Orange, Hope, Tweety, Prim, Keppel, Beau, Birdie, Aero and Top Gloss.
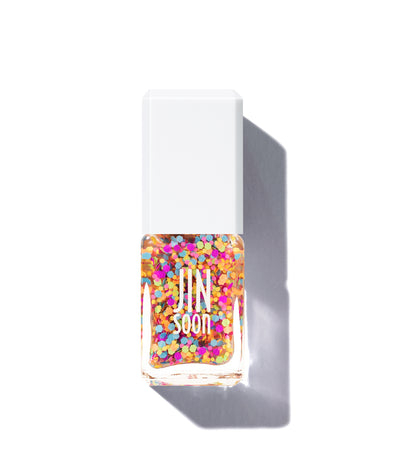
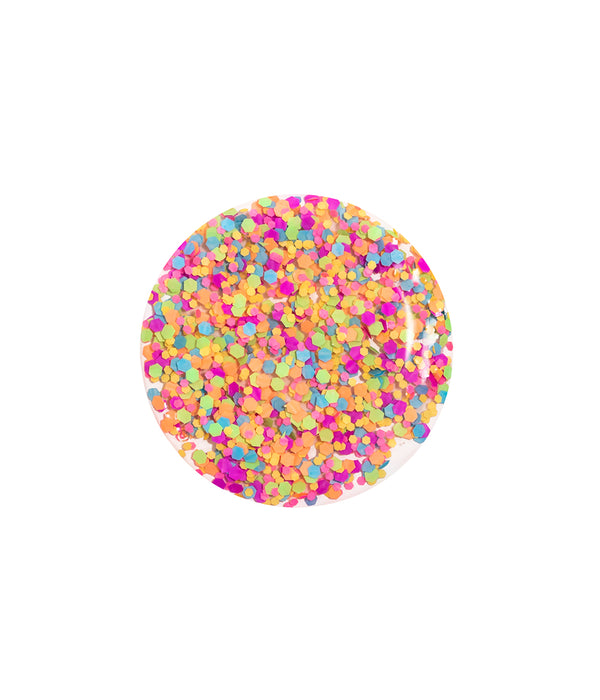
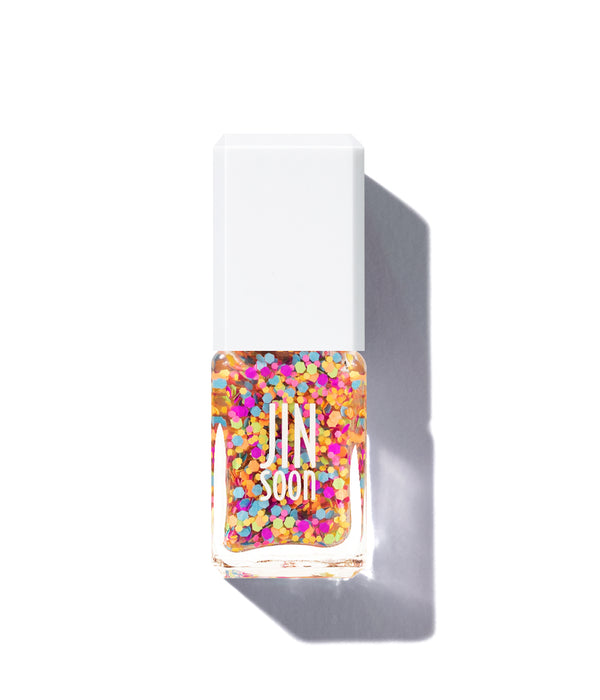
Pop Confetti
Get ready to add a burst of celebration to your nails with a pop confetti nail design!
How-To Steps:
- Clean, prep nails and shape the nails using a JINsoon High Performance Diamond Nail File to the models desired shape.
- Apply a coat of JINsoon Pixie on each nail as a base coat and base color.
- Dab Daisy and dot toppings over Pixie.
- Apply JINsoon Top Gloss for a shiny finish.
Tip: Instead of applying Daisy topping like a nail polish, dab the confetti pieces to distribute them on the nails.
Tools and Products Used:
- JINsoon High Performance Diamond Nail File, Power Coat, Peace, Ube, Pixie, Daisy and Top Gloss.
Crayon Effect
Channel your inner creativity with a fun and artistic crayon effect nail art! 
How-To Steps:
- Clean, prep, and shape the nails using a JINsoon High Performance Diamond Nail File to the desired shape.
- Apply Power Coat base coat to each nail.
- Apply a coat of JINsoon Absolute White on all nails.
- Using a thin nail art brush, create abstract diagonal lines from top to bottom with several different colors - Tweety, Palma, Cool Blue, Love, Pop Orange, Hope, Beau, Aero and Absolute White.
- Finish with Top Gloss top coat.
Tip: Overlapping layers and colors will give more depth and an impressionist paint-like effect.
Tools and Products Used:
- JINsoon High Performance Diamond Nail File, Power Coat, Tweety, Palma, Cool Blue, Love, Pop Orange, Hope, Beau, Aero and Absolute White and Top Gloss.
Bold Stripe
A minimalist nail design makes a strong statement with a single stripe nail art design.
How-To Steps:
- Clean, prep, and shape the nails using a JINsoon High Performance Diamond Nail File to the desired shape.
- Apply Power Coat base coat to each nail.
- Apply two coats of JINsoon Cool Blue.
- Draw a straight line with Kookie White in the middle, then make it a bit thicker.
- Finish with Top Gloss top coat.
Tip: For a super straight stripe, it's best to use tape, which means the base color should be completely dry before using the tape.
Tools and Products Used:
- JINsoon High Performance Diamond Nail File, Power Coat, Cool Blue, Kookie White and Top Gloss.
Colorful Waves
Make a splash with your colorful wave nail art! This design is perfect for adding a burst of energy and personality to your manicure.

How-To Steps:
- Clean, prep, and shape the nails using a JINsoon High Performance Diamond Nail File to the desired shape.
- Apply Power Coat base coat to each nail.
- Apply two coats of JINsoon Tweety, Palma, Aero, Love and Pop Orange.
- Draw abstract lines on each nail using JINsoon Cool Blue, Love, Tweety and Aero.
- Fill in the inside of the nail using the same colors.
- Finish with Top Gloss top coat.
Tools and Products Used:
- JINsoon High Performance Diamond Nail File, Power Coat, Tweety, Palma, Aero, Love and Pop Orange, Cool Blue and Top Gloss.
Yayoi Dots
A captivating black on yellow nail art design! This design is inspired by the iconic polka dots often seen in the artwork of Yayoi Kusama.
How-To Steps:
- Clean, prep, and shape the nails using a JINsoon High Performance Diamond Nail File to the desired shape.
- Apply Power Coat base coat to each nail.
- Apply two coats of Tweety.
- Apply big dots in the middle by lining up on each nail with Absolute Black using q-tips - big size Q-tip for big dots
- Apply small dots on both sides of the nails by lining them up on each nail using Absolute Black applied with Q-tips - small size Q-tip for smaller size dots.
- Finish with Top Gloss top coat.
Tip: Q-tips do magic to create dots because the polish remains wet on the Q-tip, allowing for multiple dot applications with just a single dip.
Tools and Products Used:
- JINsoon High Performance Diamond Nail File, Power Coat, Tweety, Absolute Black and Top Gloss.
Summer Ombre
Rock the summer vibes with a tropical yellow and green ombre nail design and feel the sense of freshness and sunny look.

How-To Steps:
- Clean, prep and shape the nails using a JINsoon High Performance Diamond Nail File to the models desired shape
- Apply two coats of JINsoon Tweety to each nail.
- Apply JINsoon Palma to a makeup sponge, dabbing it from the nail tips up to 1/3 - 1/2 of the nails to create an Ombre effect.
- Then, apply another coat of JINsoon Palma to the makeup sponge and dab it on the areas needed to perfect the ombre effect.
- Apply JINsoon Top Gloss Top Coat.
Tip: Use densed makeup sponge for more dense ombre finish
Tools and Products Used:
- JINsoon High Performance Diamond Nail File, Tweety, Palma and Top Gloss top coat
Mini Pom-Pom
From soft pastels to bold brights! Make your nails look festive with mini pompoms on your nails!
How-To Steps:
- Clean, prep nails and the shape nails using a JINsoon High Performance Diamond Nail File to the models’ desired shape.
- Apply Power Coat base coat to each nail.
- Apply JINsoon Love on a makeup sponge, dabbing it anywhere you want.
- Do the same with Aero, Tweety, and Winky.
- Apply JINsoon Matte Make matte Top Coat for a satin finish or Top Gloss for a shiny finish.
Tools and Products Used:
- JINsoon High Performance Diamond Nail File, Power Coat, Love, Aero, Tweety, Winky, and Top Gloss.
Color Stripes
Colorful stripes on white nails gives a fresh and modern look - a touch of simple lines add more than what you expected!
How-To Steps:
- Clean, prep, and shape nails using a JINsoon High Performance Diamond Nail File to the desired shape.
- Apply Power Coat base coat to each nail.
- Apply two coats of JINsoon Pinky or Absolute White.
- Draw a straight line with Love, Cool Blue, Vanity and Palma in the middle, then make it a bit thick.
- Finish with Top Gloss top coat.
Tip: For a super straight stripe, it's best to use tape, which means the base color should be completely dry before using the tape.
Tools and Products Used:
- JINsoon High Performance Diamond Nail File, Power Coat, Pinky or Absolute White, Love, Cool Blue, Vanity and Palma and Top Gloss.