Celebrate Pride Month with Cheerful Nail Designs!
In celebration of Pride Month, I thought it would be fun to look into the meaning of the pride flag. It's not just visually striking; each color has significance: hot pink for sex, red for life, orange for healing, yellow for sunlight, green for nature, turquoise for magic, blue for harmony, and violet for spirit. Gilbert Baker, the creator of the pride flag, explained the rationale behind its design.
“We needed something to express our joy, our beauty, our power. And the rainbow did that,” he said.
With that in mind, I decided to create nail art that features the vibrant colors of the pride flag. It's a joyful way to celebrate with friends and family.

Matte Blue French + Dots
How to Create the Matte Blue French Look
- Prep and shape nails using a JINsoon High Performance Diamond Nail File.
- Apply Power Coat Base Coat.
- Draw a curved French tip using Cool Blue.
- Apply Matte Maker.
Tools and Products Used

Matte Blue French + Dots
- Prep nails.
- Apply Power Coat.
- Create French tip with Cool Blue.
- Add dots using Absolute White.
- Finish with Matte Maker.
Pop Skittle + Stars

- Prep nails.
- Apply Power Coat.
- Apply Ube, Hella, Peace, Palma, Tweety.
- Finish with Top Gloss.
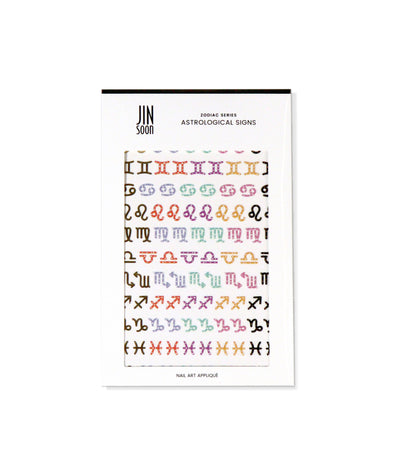
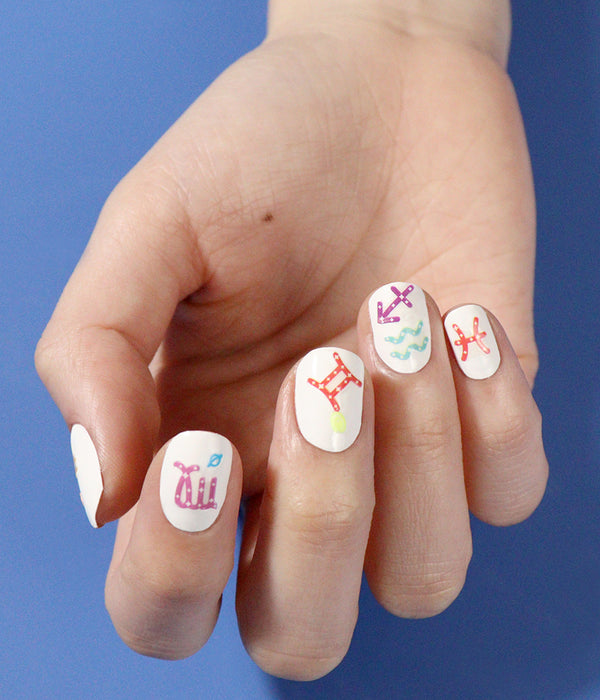
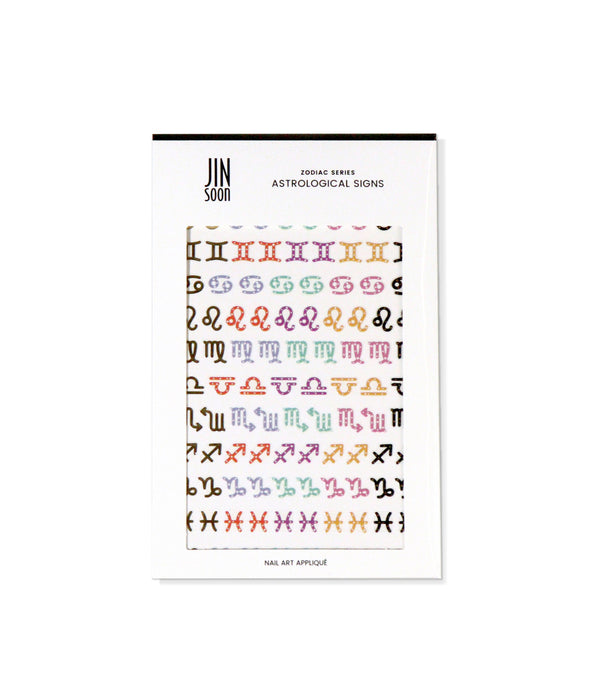
- Add star stickers (optional).
Products Used
Moon Wavy

- Prep nails.
- Apply Power Coat.
- Apply Whisper.
- Create waves with Flirt.
- Finish with Top Gloss.
Products Used
Geo-Angles

- Prep nails.
- Apply Power Coat.
- Create angled stripes using multiple colors.
- Finish with Top Gloss.
Products Used
Abstract Curls
Creating straight lines can be challenging, but crafting artsy abstract squiggles is both easy and enjoyable. Give it a try yourself!
How-To Steps:
- Apply JINsoon Power Coat as a base on clean nails.
- Apply one or two coats of Whisper.
- Draw large abstract squiggly lines with Crush.
- Finish with Top Gloss.
Tools and Products Used:

Pastel Dots
- Prep nails using Diamond Nail File.
- Apply Power Coat.
- Apply Aura.
- Add dots with Aero, Hella, Tweety, Birdie, and Keppel.
- Finish with Top Gloss.
Tools and Products Used:

Ombre Skittle
- Prep nails.
- Apply Power Coat.
- Apply Whisper.
- Create ombre using Flirt, Palma, Tweety, Cool Blue, and Crush with a sponge.
- Finish with Top Gloss.
Tools and Products Used:

Triple Curvy Lines
- Prep nails.
- Apply Power Coat.
- Create abstract white base with Absolute White.
- Add curves using Ardor.
- Finish with Top Gloss.
Tools and Products Used:

Artful Brush Strokes
Unlock your inner artist and let your creativity flow as you paint brush strokes on your mini nail canvas!
How-To Steps:
- Shape your nails and remove any residue from the nail bed.
- Apply JINsoon Power Coat to all nails.
- Create uneven brush strokes using Absolute White, leaving some natural nail exposed.
- Repeat with Aero.
- Repeat with Tweety.
- Repeat with Hella.
- Finish with Top Gloss.
Tools and Products Used:

Imperfect Stripes
Craft uneven, imperfect stripes for a creative and spontaneous appearance.
How-To Steps:
- Prep nails using a Diamond Nail File.
- Apply Power Coat.
- Apply two coats of Muse.
- Create imperfect lines using Birdie, Tweety, Hella, and Keppel.
- Finish with Top Gloss.